
Need a customized calendar?
If you’re familiar with the Google Suite, making a basic calendar in Google Docs is a piece of cake.
Creating one in Google Sheets takes a bit more work, but the results are more pleasing because of the many ways you can customize your calendar and keep your days perfectly organized.
In this article, we show you how to make calendars in Google Docs and Google Sheets. We also guide you through four different methods: two manual and two with templates.
How to make a calendar in Google Docs with a table
The easiest and quickest way to create a calendar in Google Docs is to use a table. Here’s how to do it:
Step 1. Start a new Google document
Begin by going into your Google Drive account. If you don’t have one, setting up a free Google account and login will give you access to a variety of free apps, like Drive, Docs, and Sheets.
In Drive, click on the New function and select Docs. Save your new document under a name such as “My 2024 Calendar.”
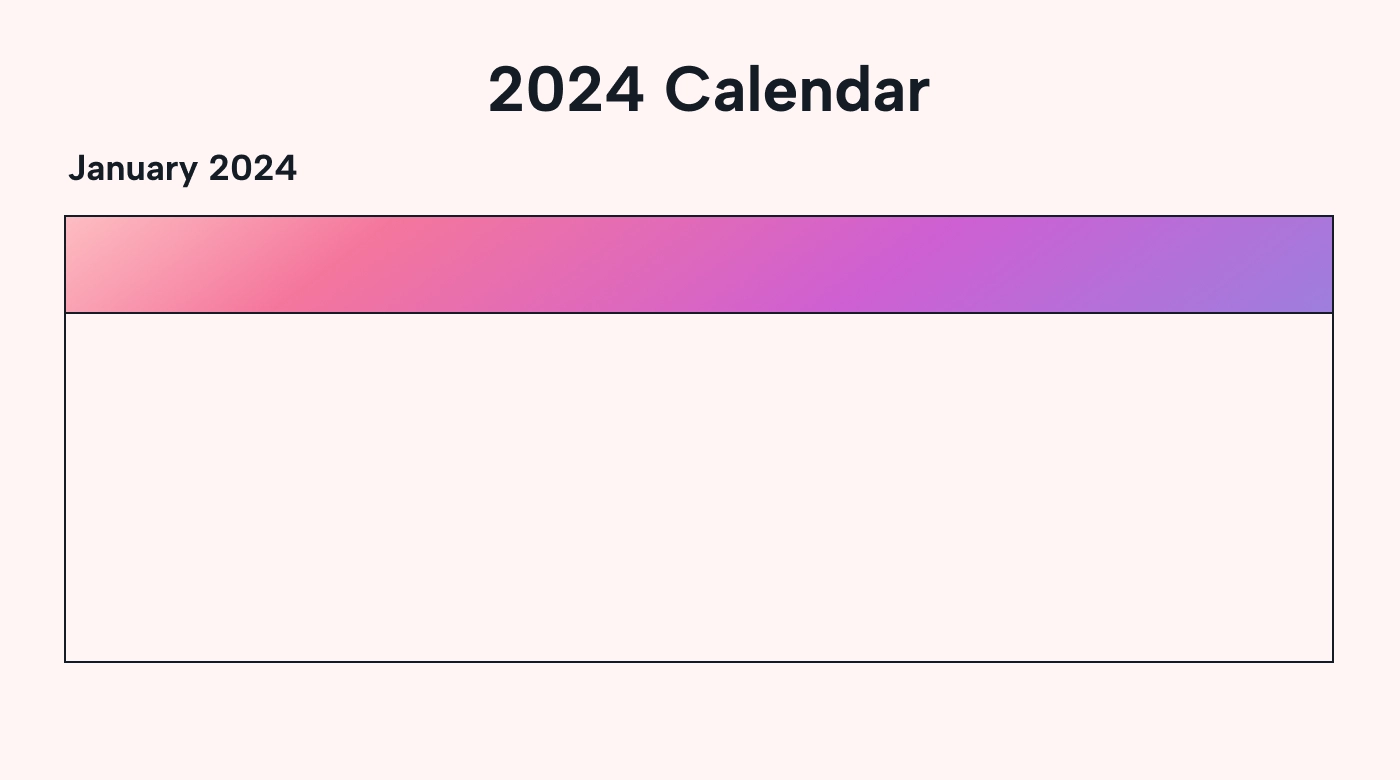
On the Docs page, create a header such as “2024 CALENDAR.”
You’ll be creating your calendar one month at a time. So, under the header, add a subhead, such as “JANUARY 2024.”
This is what the top of your page could look like:
 |
Step 2. Select landscape orientation
Your document will be in portrait layout by default. But a landscape layout is better for a calendar since it provides more space for event entries. Change the setting in Format > Page orientation.
Step 3. Insert a table
Now comes the magic moment when you create your calendar table.
Position your cursor below the subhead in the left-hand margin. Click on the Insert tab and select Table.
You’ll now see a grid with small blue squares. Maneuver your cursor to the right and down through the grid to select the number of cells you want in your table.
If you’re creating a monthly calendar, select 7 columns (one each for the days of the week) and go down 6 rows (for the headings and the four or five weeks of the month). You’re creating a 7x6 grid.
Click on the last box your cursor is on, and voilà — a blank 7x6 table will drop into your document.
You’ll now see something like this:
| |
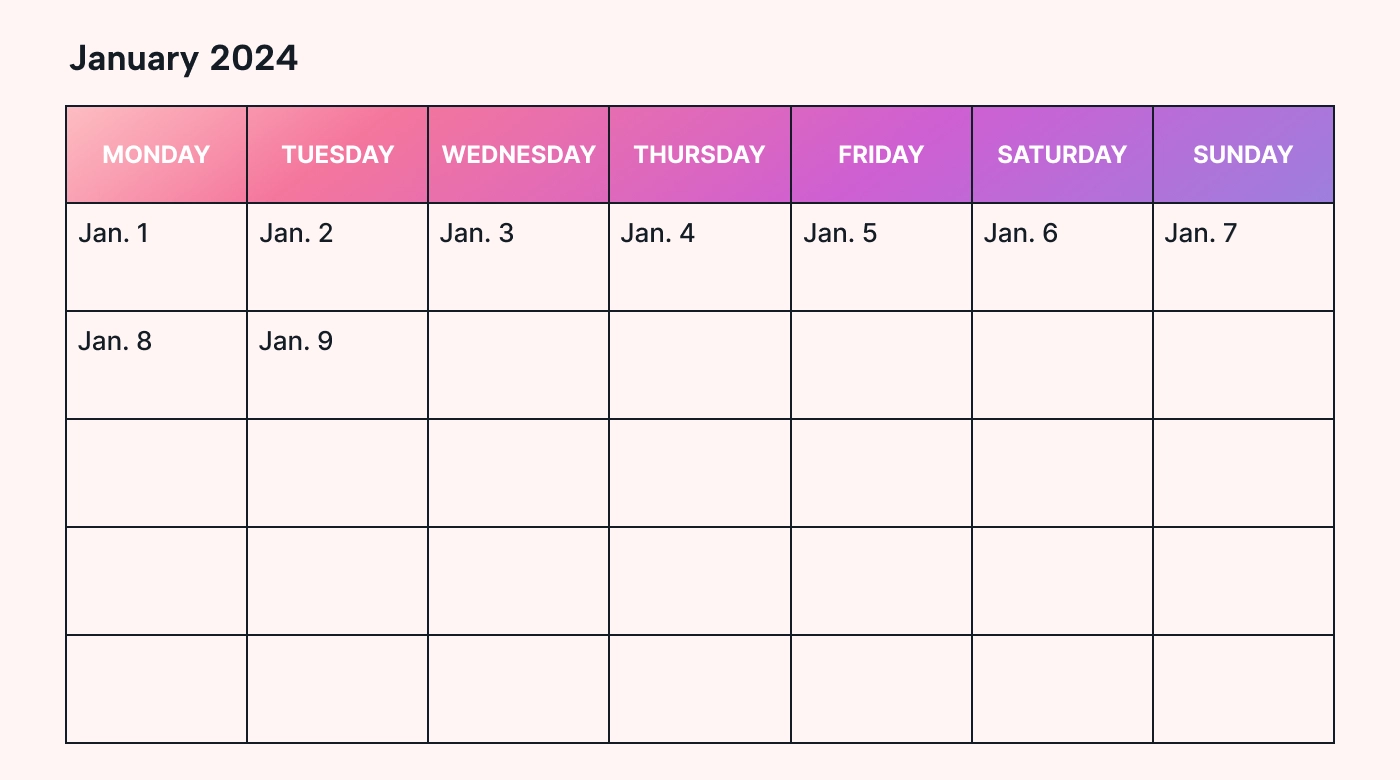
Step 4. Type in the weekdays
In the top row, type the days of the week — one day for each column. Lay them out however you’d like. For instance, Monday, Tuesday, Wednesday, Thursday, Friday, Saturday, Sunday. You can also start with Sunday and go through Saturday or start with Saturday instead.
Step 5. Type in the dates
In the next rows, type in the dates. In our 2024 example, Jan. 1 happens to be on a Monday, so start in the first column like this:
 |
A good rule of thumb is to use one page for each month. This typically gives you enough space to enter your regular commitments and activities for each day.
However, a nice feature of a table is that as long as you fill in your calendar online, you can add as many details as you want to each day and let the month spill over to additional pages.
Repeat the process for the subsequent months.
Step 6. Adjust row heights
Adjust the row size by hovering your cursor over the horizontal lines in the table and dragging them up or down.
Step 7. Make your calendar aesthetically pleasing
A calendar table can look pretty bland unless you spend some time customizing and beautifying it. Here’s how to do this:
- Select a font you like.
- Place the dates where you’d like them. We picked left-align.
- Add color to the table.
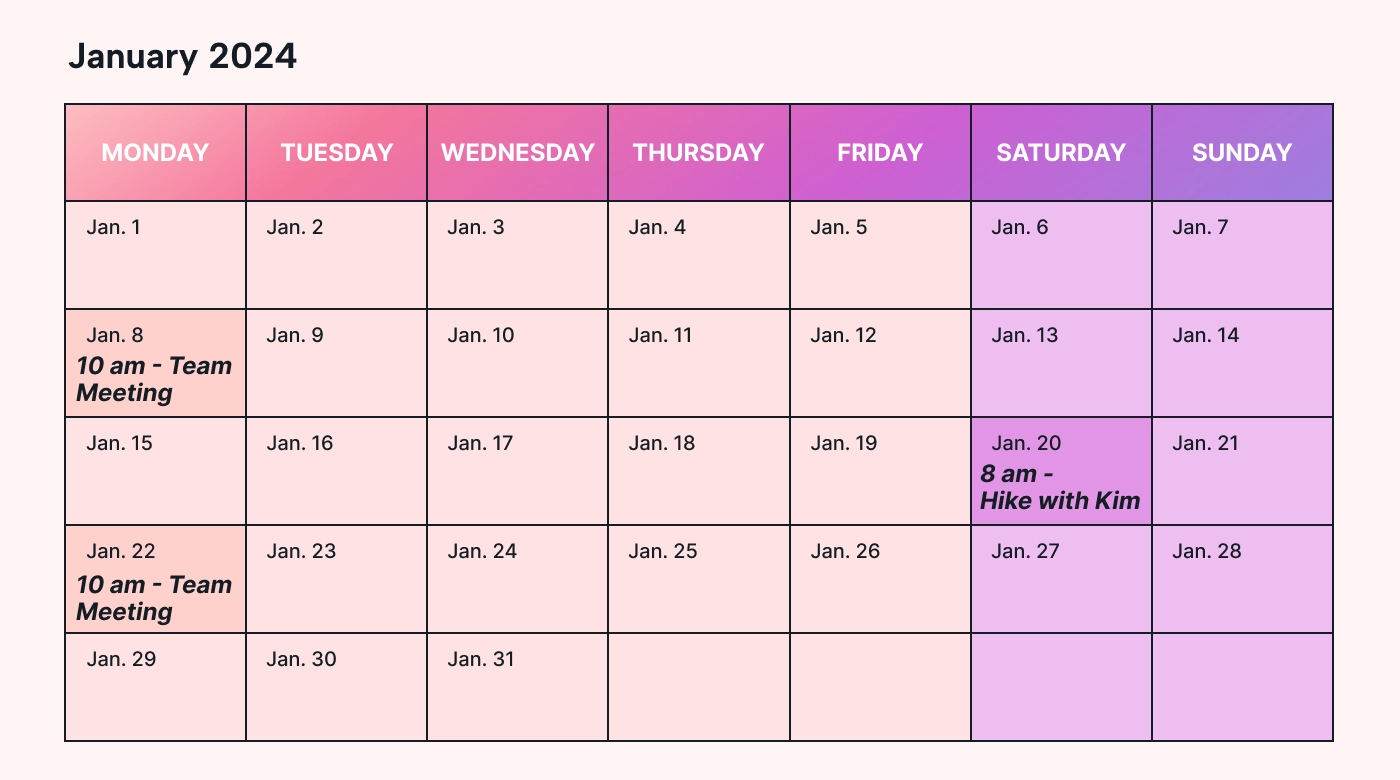 |
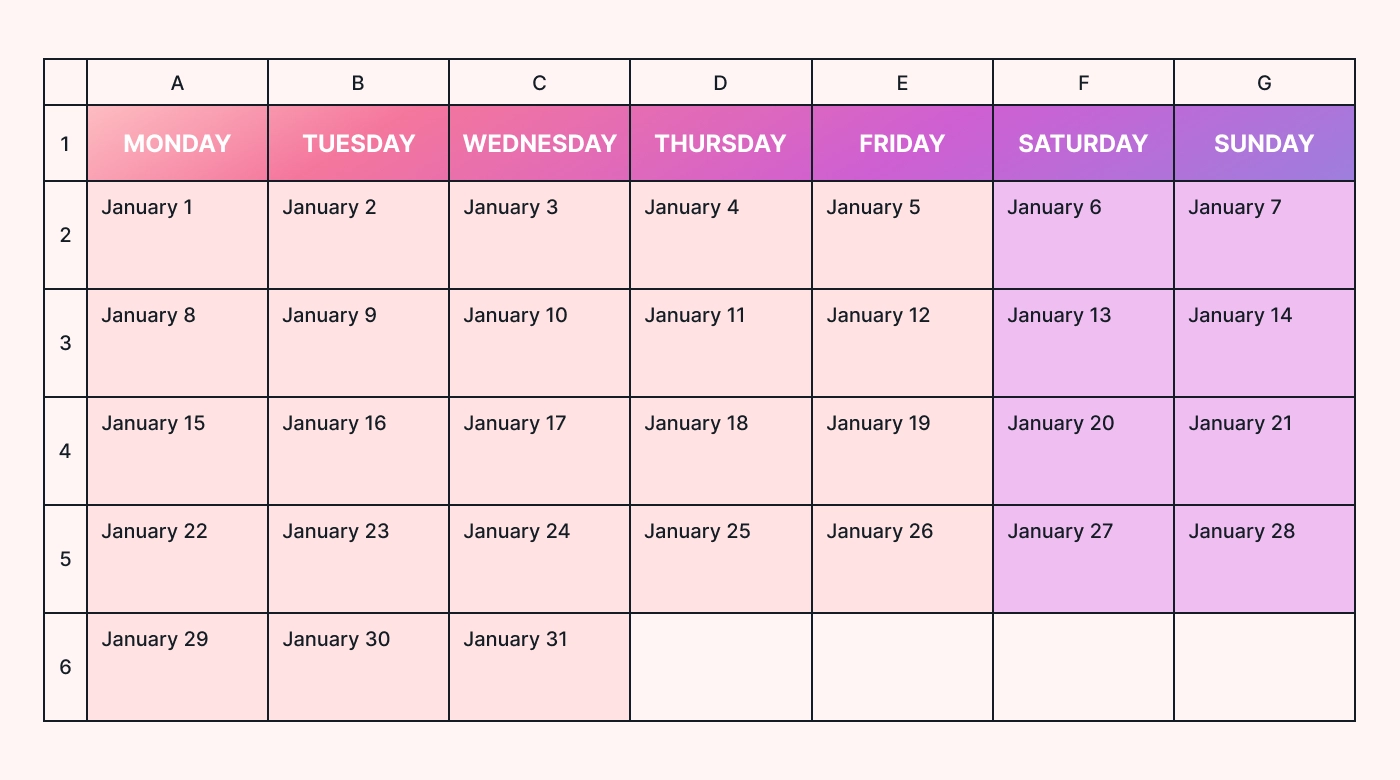
Step 8. Insert your engagements
Your calendar is now ready for you to insert your appointments, events, and daily tasks.
You can also highlight important cells, as we did for the recurring team meetings on January 8 and 22 and the special outing on January 20.
How to make a calendar in Google Docs with a template
If you’re not charmed by the idea of manually creating a table and making it pretty, an alternative option is to use a template.
However, though Google Docs offers lots of different document templates, the collection doesn’t include a calendar template. So, to make use of this option, you’ll have to go hunting for a template online.
Here’s how:
Type “Google Docs calendar template” into a search engine, and you’ll find any number of companies that offer free calendar templates that are compatible with Google. Just download one you like and copy it into your Google document.
But there’s a caveat: “free” is usually not really free. You may be asked to sign up for the services of the companies that offer the “free” templates or end up with a subscription to their newsletters.
So, in the end, you may be better off with your homemade calendar table. Or try our method discussed next: a calendar template in Google Sheets.
How to make a calendar in Google Sheets with a template
Google Sheets (Google’s spreadsheet app) is more suitable for calendar creation than Google Docs. The reason is that a spreadsheet is essentially a huge table, and it’s much easier to work with a table in Sheets than in Docs.
But you don’t have to start your calendar from scratch. Unlike Google Docs, Google Sheets has built-in templates for calendars. These templates are the easiest way to bang out your personal calendar, so we’ll start there.
Step 1. Start a new Google spreadsheet
In Google Drive, click on the New function and select Sheets. Save your new blank spreadsheet under a name, such as “My 2024 Calendar.”
Step 2. Insert a template
Now look for Google’s calendar templates by clicking on File > New > From template. Once in the template gallery, take a look around and select a template you like.
Click on it, and it will automatically populate your spreadsheet with a well-designed annual calendar.
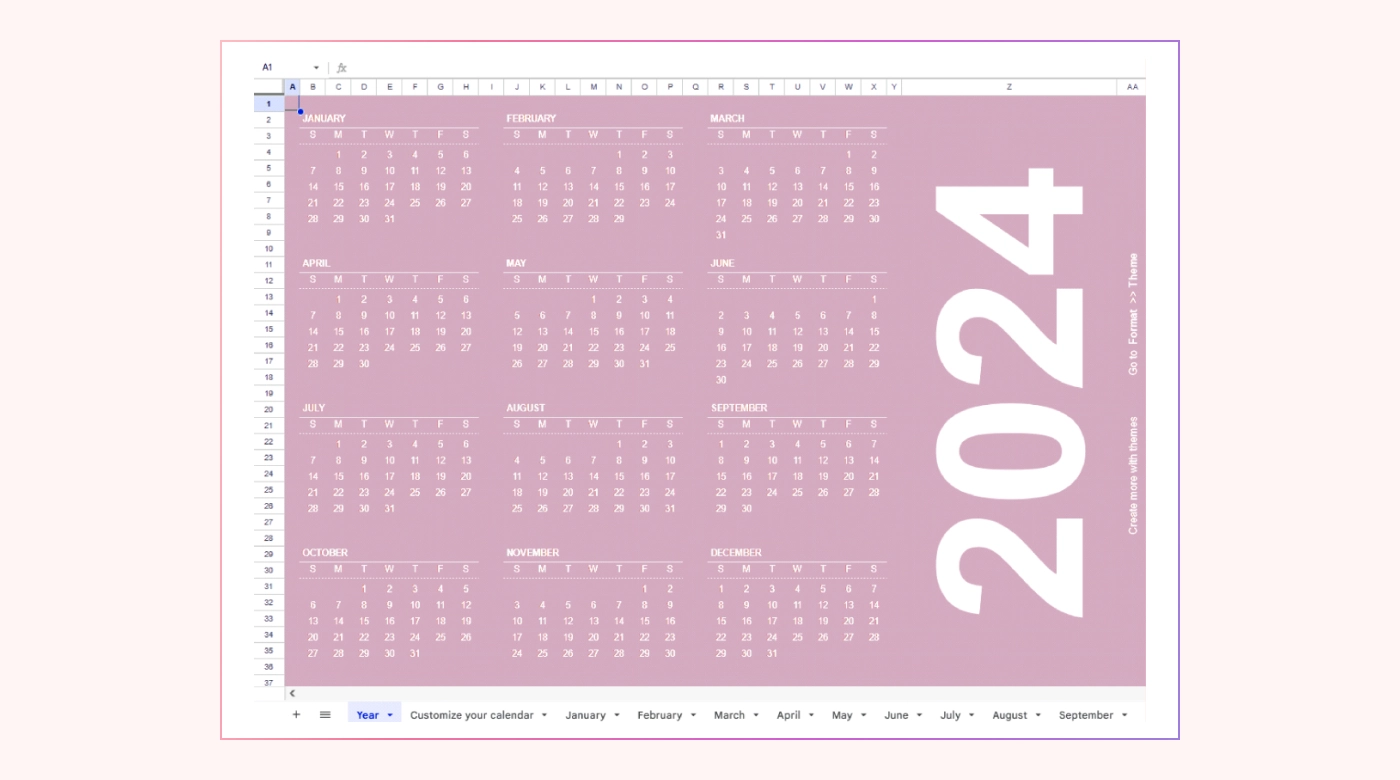 |
Notice how the tabs at the bottom show the year as well as the individual months. Click on any of the month tabs to navigate through your calendar.
The template automatically updates for future years, so once you have selected one you’re happy with, it’s easy to keep using it from year to year.
Step 3. Customize the template
A nice feature of those ready-made templates is that they are customizable to your specific needs. For instance, you can delete columns or rows you don’t like or need or insert extra columns and rows for custom data you’d like to add.
You can also change the color palette by going to Format > Theme.
How to make a calendar in Google Sheets with a table
An alternative to using a Google calendar template is to design your own calendar spreadsheet. It’s more work than using a template, but you’ll end up with a more customizable document.
Here are the steps to creating a basic calendar with manual data input:
Step 1. Start a new Google Sheet
Open a new spreadsheet and save it under a name such as “My Custom Calendar.”
You have the option of laying out your entire yearly calendar in one huge, scrollable spreadsheet or using the bottom tabs to structure your calendar with one month per tab.
If you’re using tabs, click the + sign at the bottom left of the spreadsheet to add a new tab. When you’ve created your first month, just copy your design over to that new tab and manually change the dates.
Step 2. Lay out your calendar grid
Type the days of the week into the first 7 columns of the top row.
Now, using a paper or online calendar for reference, manually type in the dates for the days of the week and month. Use the grab handles to make each row as tall as you want and each column as wide as you want.
You may also want to apply some basic color coding to the columns and rows to make them stand out.
Here’s what your calendar template could look like in Google Sheets:
 |
Step 3. Customize your calendar
As with calendars in Google Docs, you could customize your calendar and improve its appearance. For example:
- Use shading or color-coding for your entire calendar or for special dates.
- Use different fonts, bolding, and italics for a unique look.
- Use the Borders function to emphasize certain portions of the grid.
- Play with the date function and find a format you like, such as January 1, 1/1/24, or 1-Jan. Follow this sequence: Format > Number > Custom date and time.
- Use the Align function to line things up the way you want, such as left-aligned or centered.
You can also use Conditional Formatting, a more advanced formatting option, to automatically color weekend days across the whole calendar so that you won’t have to keep doing this manually. Here’s how:
- Select the cells you want to format. For instance, highlight columns F and G — the weekend days in our sample calendar.
- Click on Format in the menu bar.
- Choose Conditional formatting from the dropdown menu.
- This will open a sidebar where you can set up your formatting rules.
Lastly, don’t forget to freeze the top row so that the names of the days are always clearly in view. Click View > Freeze > 1 row.
That’s it. You’ve created a functional, fully customizable annual calendar in Google Sheets. Your calendar is now ready for you to fill in with your events, appointments, and activities.
And the nice thing is that now that you've gotten the hang of making a personal calendar, you can use the same process to create social media calendars, project calendars, editorial calendars, monthly budget calendars, or whatever else you need.
The limitations of Google calendars
Google calendars are fun to try your hand at. You can create some nice templates and customize them to your heart’s content.
You can even automate some of the functions, such as date entries — but Google Sheets formulas are not for the faint of heart, so try this only once you have a basic familiarity with spreadsheets.
However, there are limitations to what these homemade calendars can do for you. Here are a few things to be aware of:
- Setting up a calendar in Docs or Sheets from scratch requires a lot of initial input, especially if you want it to look organized.
- Calendars in Docs and Sheets don’t update automatically with new events or changes. You’ll have to manually add and adjust dates and events, which can be time-consuming.
- These self-created calendars lack advanced features, like event notifications, integration with email, or automatic syncing with other devices.
- While you can share the entire document, you can’t share specific events or collaborate in real time on calendar events as you can with dedicated calendar applications.
- Entering your data manually increases the risk of error, such as incorrect dates or duplicate entries, which can throw a wrench into your calendar’s accuracy.
Given these limitations, if your calendar plays a significant role in your work and personal life, you may be better off with an online calendar app such as Motion.
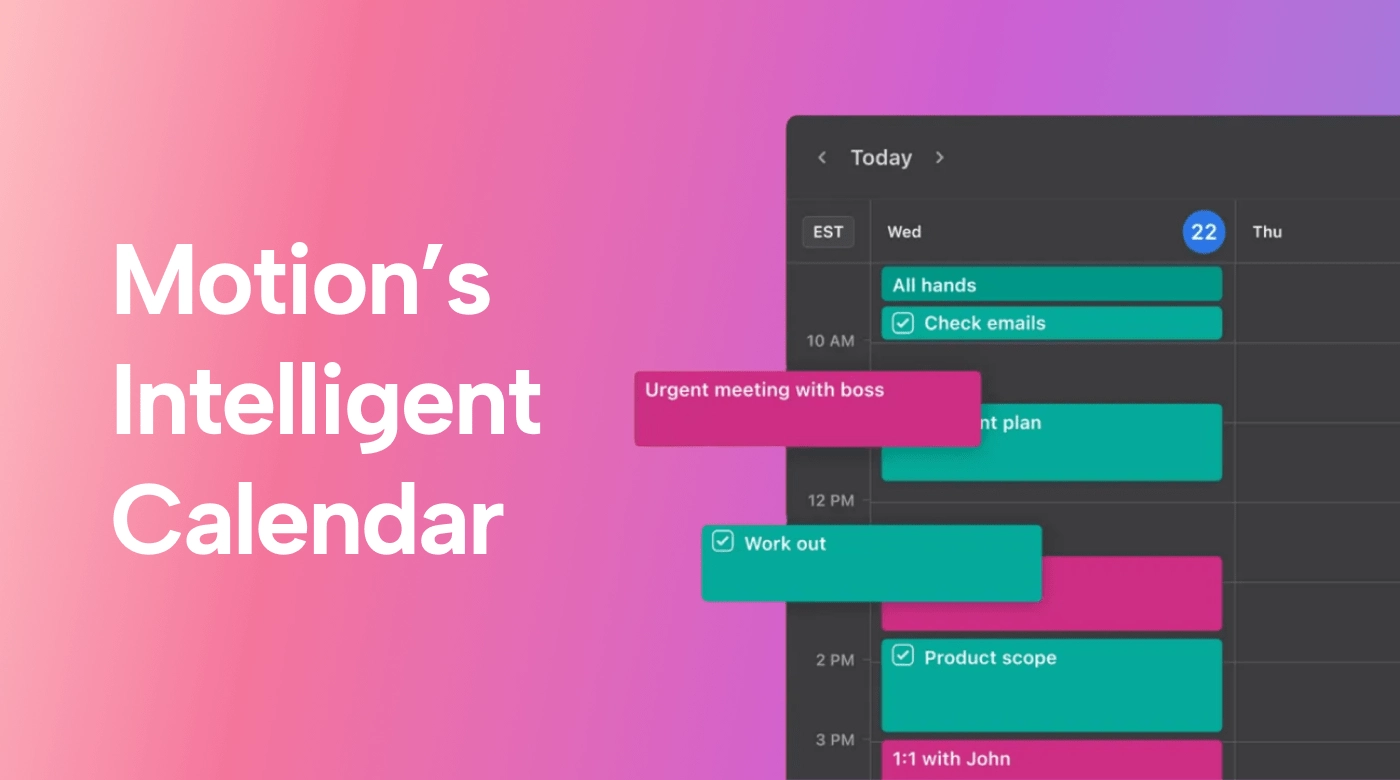 |
Motion’s AI-driven calendar is a modern work of art. It takes all your meetings, to-do lists, projects, tasks, and activities and intelligently creates one perfect, optimized schedule to get it all done. It also saves you lots of time in the process, whether for your personal projects or if you’re working with a team calendar.
In short, Motion’s smooth, smart functionality trumps making a less functional calendar yourself in Google Docs or Sheets.
Not sure about creating a Google calendar yourself? Try Motion instead
Making your own schedule or calendar in Google Docs or Google Sheets is definitely an option if you want to have access to a personal, customizable calendar. But it’s by no means the only option.
Software apps like Motion’s intelligent, AI-driven calendar provide you with a more advanced, customizable calendar that’s much easier to work with than a table or spreadsheet.
In fact, Motion’s calendar is so smart that it automatically adjusts entries and blocks of time as you move through your day and week. It’s like having a personal digital assistant that’s always on call for you.
To explore Motion’s calendar functionality more, try Motion for free today.

A certified content writer and SEO strategist, Carla Groenewegen writes about success principles and practices aimed at SMBs and not-for-profit organizations.


