
In the ideal project scenario, you’ll identify all the potential risks before the project begins. You put preventive measures in place to stop them from happening, and your project runs as smoothly as possible. Sounds ideal, right?
Well, that’s pretty much what a project pre-mortem can do.
But if you’re new to pre-mortems, it can seem like a daunting process. Identifying all your project risks before you’ve even had a chance to start? Yikes.
Don’t worry — it’s not as scary as it sounds. In this article, we’ll show you what a project pre-mortem is, its benefits, and how to run your own pre-mortem in five simple steps.
What is a project pre-mortem?
A project pre-mortem is a project management technique. It helps you identify potential risks, challenges, and issues that could crop up in a project before it begins. Then, you can mitigate these risks beforehand, ensuring your projects run as smoothly as possible.
Performing a pre-mortem involves working backward from a hypothetical scenario. The scenario outlines where the project could fail and the problems that might have caused the failure.
For example, you might imagine your project failing because you missed the deadline. Then, you’ll brainstorm the factors that could be the reason for this failure. This could include poor communication, scope creep, and limited resources.
We’ll go over the steps of a project pre-mortem in more detail later.
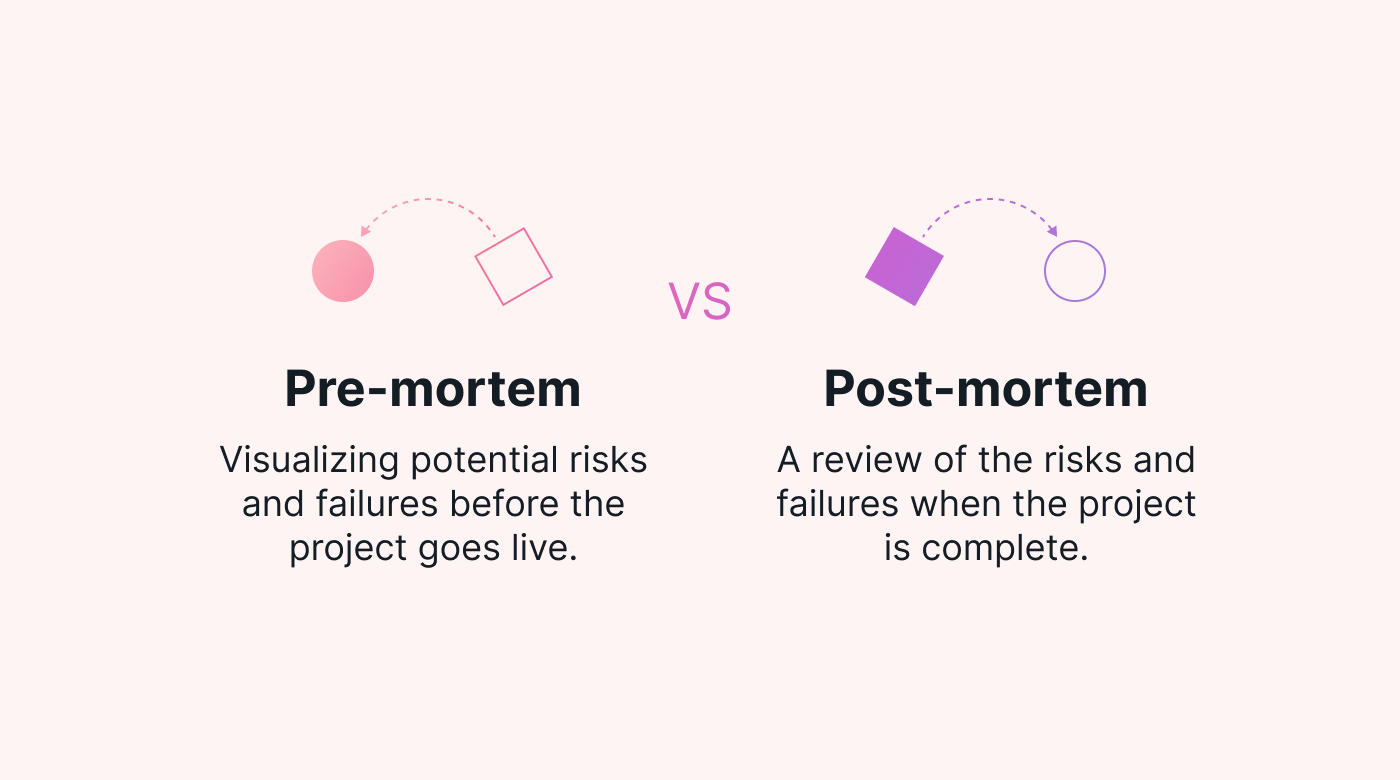
What’s the difference between pre-mortem and post-mortem
Unlike a pre-mortem (which happens before the project begins), a post-mortem takes place when the project is completed. Also known as a project retrospective or a debrief, it’s a structured evaluation that reviews the project's outcomes, processes, successes, and challenges.
 |
Conducting a post-mortem allows project teams to reflect on what went well and what didn’t go to plan. With this information, you can make informed decisions about how to improve projects going forward.
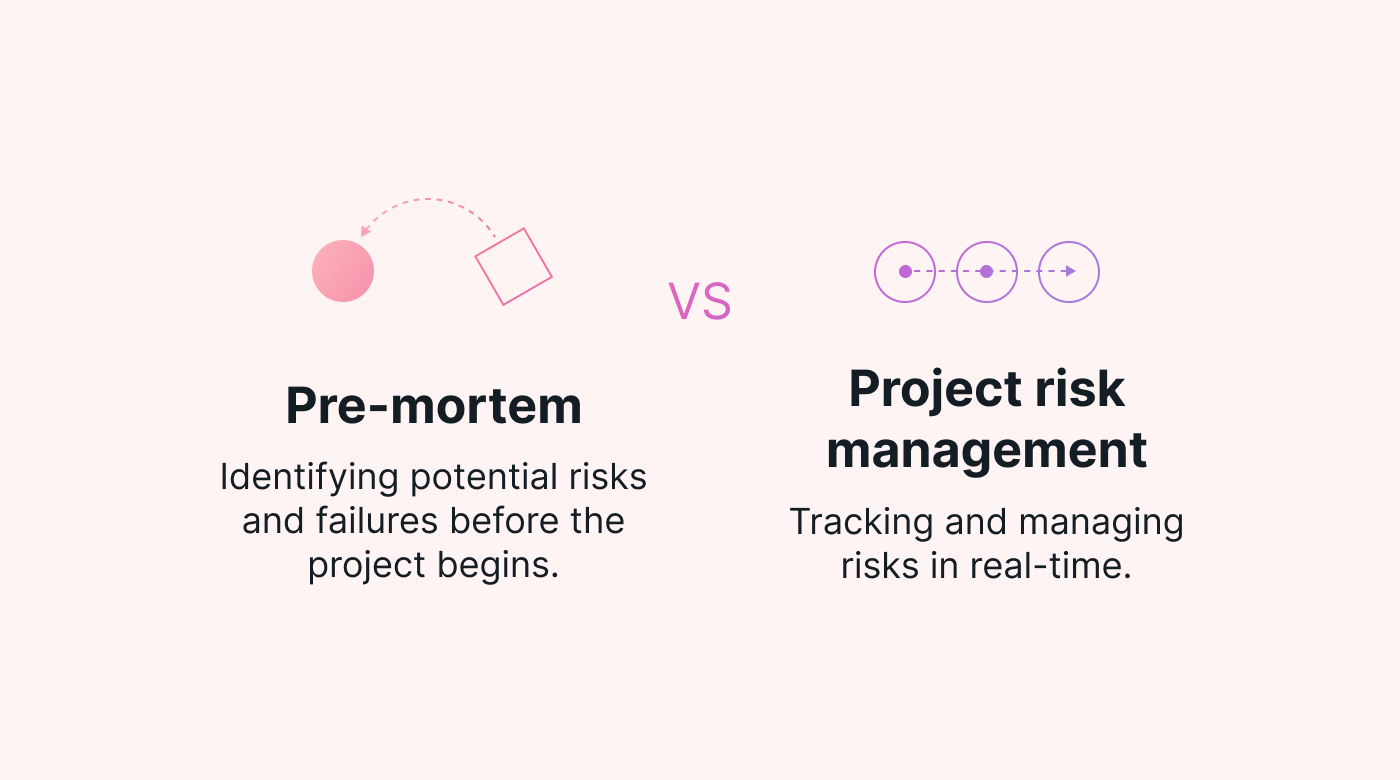
What’s the difference between pre-mortem and project risk management?
Project risk management involves tracking and managing risks throughout the entire project lifecycle, usually with something like a risk register. A pre-mortem is more about visualizing a risk happening instead of identifying and managing them in real time.
 |
Both can involve assessing the likelihood and impact of each risk. This allows teams to prioritize risks, which helps allocate resources effectively.
For example, let’s say you identify a risk that could cause a lot of damage and is likely to happen. By identifying this risk, you can ensure you have the resources available to mitigate and handle it if the risk occurs.
What is the purpose of a pre-mortem?
Take a look at some of the benefits of running a project pre-mortem.
- To identify potential risks. The goal of a project premortem is to identify and address potential pitfalls. It helps you spot things that could go wrong before they actually do, giving you a chance to put things right ahead of time.
- To mitigate risks. You can mitigate risks from the outset by spotting potential failures before the project starts. This gives your project a better chance of success, helping you run it as smoothly and efficiently as possible.
- To be proactive. Looking at risks ahead of your project start date is proactive. You’re taking charge of the potential downfalls and finding ways to put them right before things are in motion. As a result, you’re in a better position to run a smooth and successful project.
- To improve project planning. When you know what your project challenges are, it’s easier to plan everything. You can mitigate risks with your planning, allocate your resources efficiently, and improve the future outcomes of your project.
- To align the project team. A pre-mortem is a great way to get everyone on the same page for the project. You discuss what’ll happen during the project, the goals and deliverables, and analyze the potential risks together. As a result, everyone is aligned on what needs to be done and how to avoid possible pitfalls.
What is the pre-mortem process?
Now that we know what a pre-mortem is and the benefits of using it, let's walk through the pre-mortem process in five simple steps.
1. Create your project plan
To perform a pre-mortem, you need a clear picture of how your project will pan out. So, you need to start with the project plan.
A project plan is a document that outlines the purpose and scope of your project. It covers all the project tasks, milestones, goals, and deliverables in one location.
Here are some of the steps you can take to create a project plan.
- Set your project goals and deliverables. Start by outlining the goals and tangible deliverables for your project. That way, you have a clear starting point for your pre-mortem. To do this, consider setting SMART goals. This goal-setting framework helps you set clear, realistic, and measurable goals for your projects. You can find out more about how to set SMART goals in this article about setting professional goals in 2023.
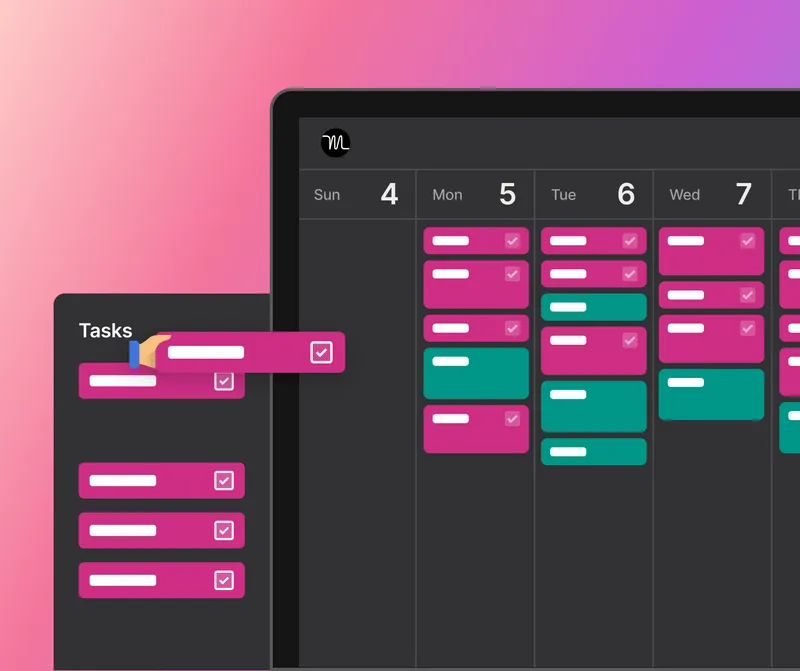
- Outline your project tasks. The next step is to pinpoint all the project tasks. This includes all the action items you need to complete to finish the project, no matter how big or small. You can use a tool like Motion’s Task Manager to plot all your tasks in a single location. With our project planning tool, you can easily add new project tasks, reshuffle your project schedule, and keep up to date with project progress.
 |
- Create a project timeline. You can now create a project timeline with an idea of all the project tasks. The timeline will outline the start and end date of your project, as well as the start and end date for each task.
- Write a project scope. The project scope is a high-level overview of what’s included and excluded in the project. It outlines the tasks, goals, and activities of the project, but it also covers boundaries and exclusions. Take a look at this example of a project scope statement to see how it works:
"The project involves creating a mobile app for users to make purchases on their mobile devices. The scope covers app design, development, and testing. It doesn’t cover competitive analysis or market feasibility.”
2. Find the right stakeholders
Part of the pre-mortem process involves working with stakeholders to identify risks. But to do this, you need to include the right stakeholders in the process.
Here’s how you can make sure you involve the right stakeholders in the process:
- Identify the core project team members. Start by figuring out who’s essential to project success. These people will have valuable insights into how the project runs and what could go wrong throughout the project lifecycle.
- Think about stakeholders outside the project. You may have high-level managers (such as C-level employees) or external stakeholders (such as investors or project sponsors) who play a role in the pre-mortem. Although these people aren’t directly involved in delivering the project, they could bring valuable insights and perspectives that help you identify potential risks.
- Consider subject-matter experts. There may be people who aren’t involved in the project but who have experience in certain areas of your project. For example, if you’re launching a new product, you might consult a product development consultant to help you review your project plan and find possible challenges.
3. Identify potential risks and failures
The next step is to work with stakeholders to identify potential risks and pitfalls. To do this, you need to work backward from the end of the project completion to find areas that could impact delivery.
To get started, you need to confirm your project endpoint. Make sure everyone’s on the same page by reaffirming your project goal, giving everyone a clear picture of where the project ends. The endpoint of your project is the starting point for your pre-mortem.
Then, you’ll host a brainstorming session.
At the start of the session, everyone identifies failures on their own. Then, you all come together to brainstorm as a group, discuss other people’s ideas, and flesh out the ideas you established on your own.
For example, let’s say you identify budgetary restrictions as a potential risk. During the brainstorm, you can expand on this idea and work with your team to figure out what the cause might be and how you could prevent it from happening.
This is just one example of a potential risk. Here are some of the other common risks you might encounter in a project.
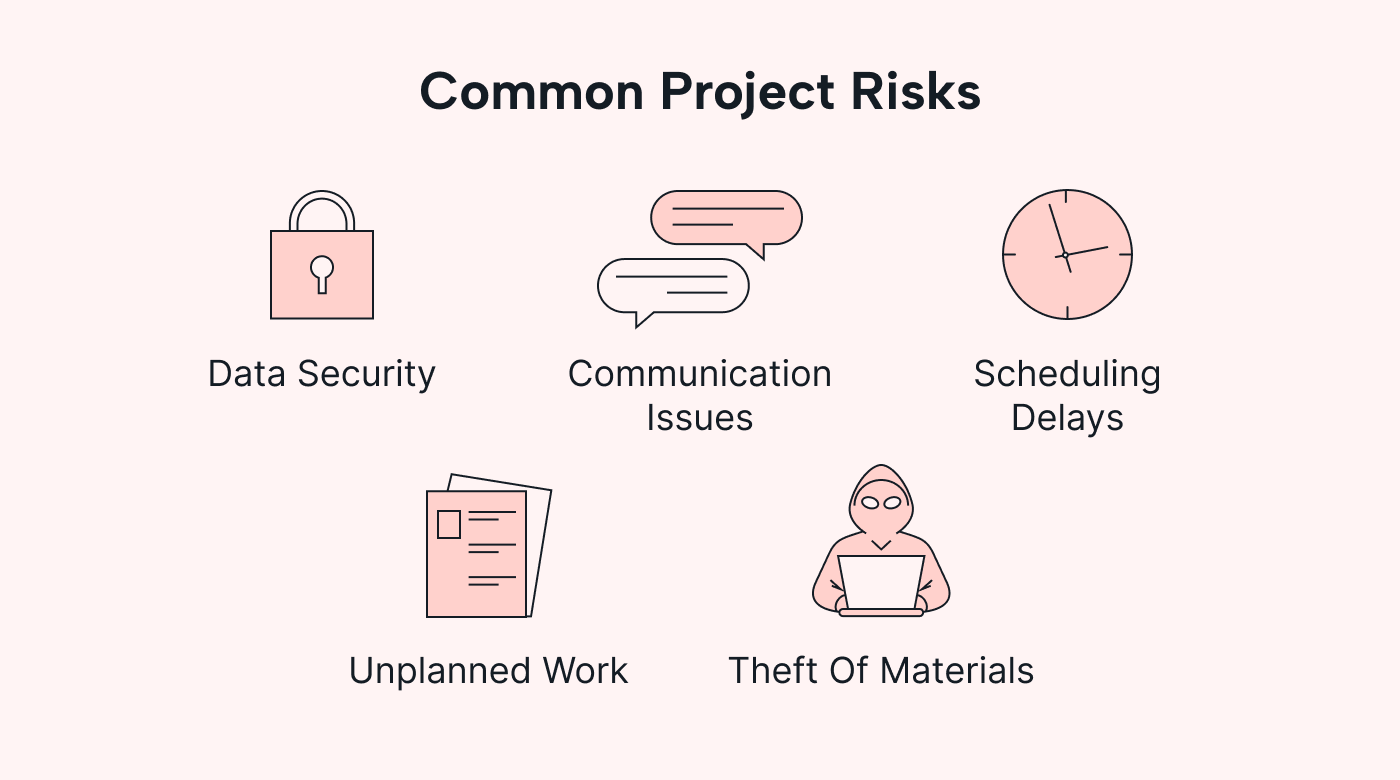 |
If your team struggles to come up with potential risks, you could use these as starting points and go from there.
4. Figure out the likelihood and impact of risks
This isn’t an essential part of a pre-mortem, but it’s incredibly useful. Why? Because it allows you to prioritize potential risks. As a result, you can spend your time and resources mitigating risks that are likely to happen and cause the most damage.
There are different ways to prioritize risks — a risk matrix is probably one of the most common.
A risk matrix helps you determine the severity and likelihood of each risk by assigning each risk a numerical value. It’s a simple way to track which risks should be top priorities.
For example, a low risk would be a 1, while a high risk might be a 9. Take a look at the image below to see how it works.
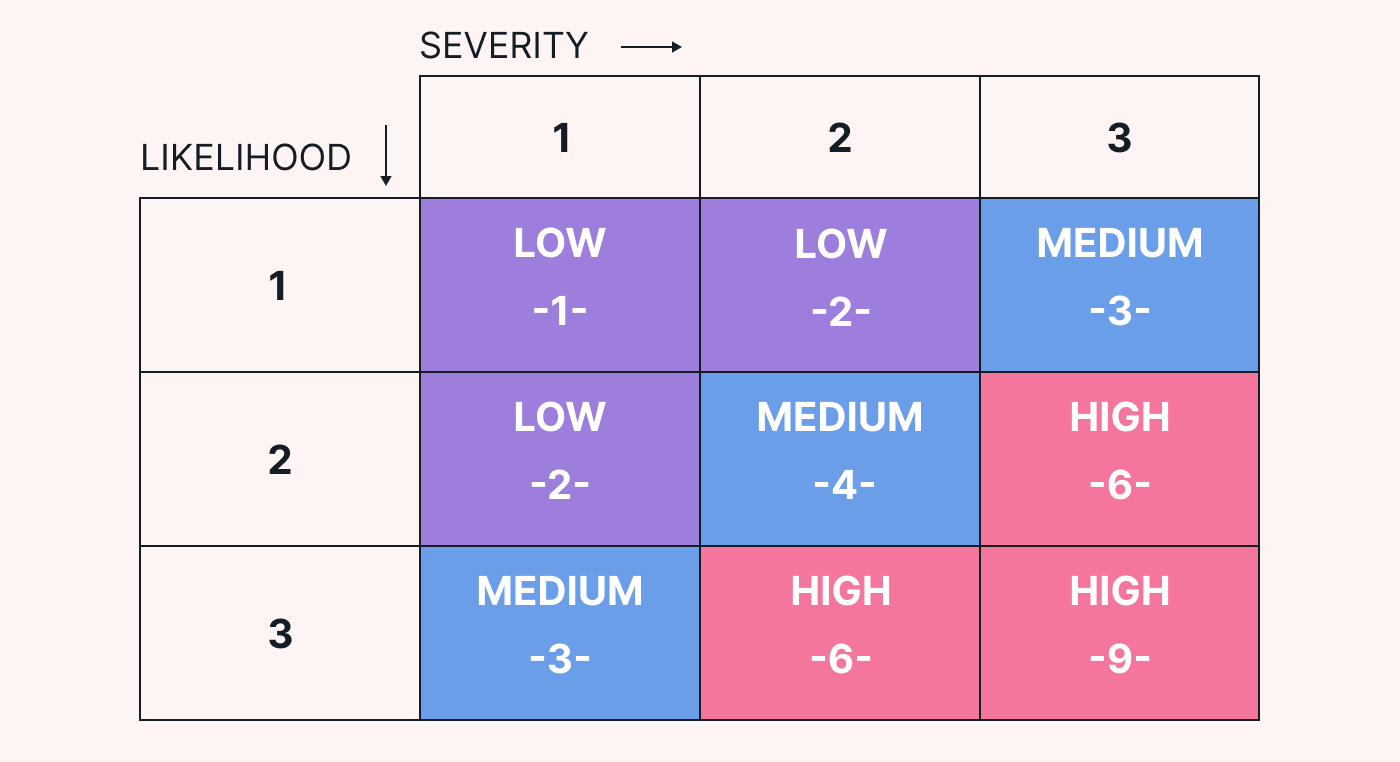 |
This is one example of how you might assign numerical values to risks. You can add more or less quadrants depending on the level of risk you want to identify.
After prioritizing risks, you can start thinking about removing them from your future project. Exactly how you do this depends on your identified risks and how they fit into your project.
Part of the pre-mortem process involves finding out where the problem comes from. This puts you in a good position to figure out how to remove certain risks from the project, or at least how to mitigate them.
As a result, you’ve reduced or eliminated some risk potential by doing a pre-mortem now rather than encountering the risk and addressing it in a post-mortem.
5. Update your project plan
After figuring out how to remove potential risks from your project, you’ll need to update your project plan accordingly. For example, you might need to add new tasks, reorder your schedule, or add new milestones to your timeline.
The good news is that if you use an online work management tool (like Motion), it’s easy to revise your project plan. Our software makes it easy to reshuffle tasks, add priorities, and automatically update your project schedule.
 |
Then, you can share the new project plan with your team and get their input before the project launch.
Team members can add comments to tasks, tag other users, and see the most up-to-date project plan from wherever they’re working — whether that’s a desktop in the office or a mobile device on the road.
Use Motion to manage risks in your projects
A pre-mortem is an incredibly useful tool for project managers and business leaders. It helps you visualize potential problems before you start working on the project, allowing you to mitigate risks proactively. As a result, you make sure your project runs as smoothly as possible.
To keep on top of risks and manage project progress, try Motion.
Our work management platform lets project teams track, manage, and mitigate risks in real-time. You can quickly adapt to unplanned risks by moving tasks and updating your project schedule in a few clicks!
Sign up for our free trial to give it a go.


